Introduction
Is your mechanical keyboard in desperate need of a good cleaning? Look no further! In this guide, we will walk you through a simple and effective process to safely clean your keyboard. Let's get started!

Step 1: Removing the keycaps
Begin by using a keycap pulling tool (available online) to gently remove all the keycaps from your mechanical keyboard. Remember to take a photo of the keyboard before removing the keycaps to make reassembling easier later on.

Step 2: Cleaning the keycaps
Prepare a bowl or cup with warm water and add a small amount of dishwashing detergent. Immerse the keycaps in the warm, soapy water and gently swirl them around for about 30 seconds. Let the keycaps sit in the mixture for 15 to 20 minutes to allow the detergent to dissolve any grease and grime.

Step 3: Drying the keycaps
After the soaking time, rinse the keycaps under clean, cold water to remove any soap residue. Dry each keycap thoroughly using a towel or rag. To ensure all moisture is removed, tap the keycaps against the towel or a clean surface. Leave them to air dry for a couple of hours before moving on to the keyboard.

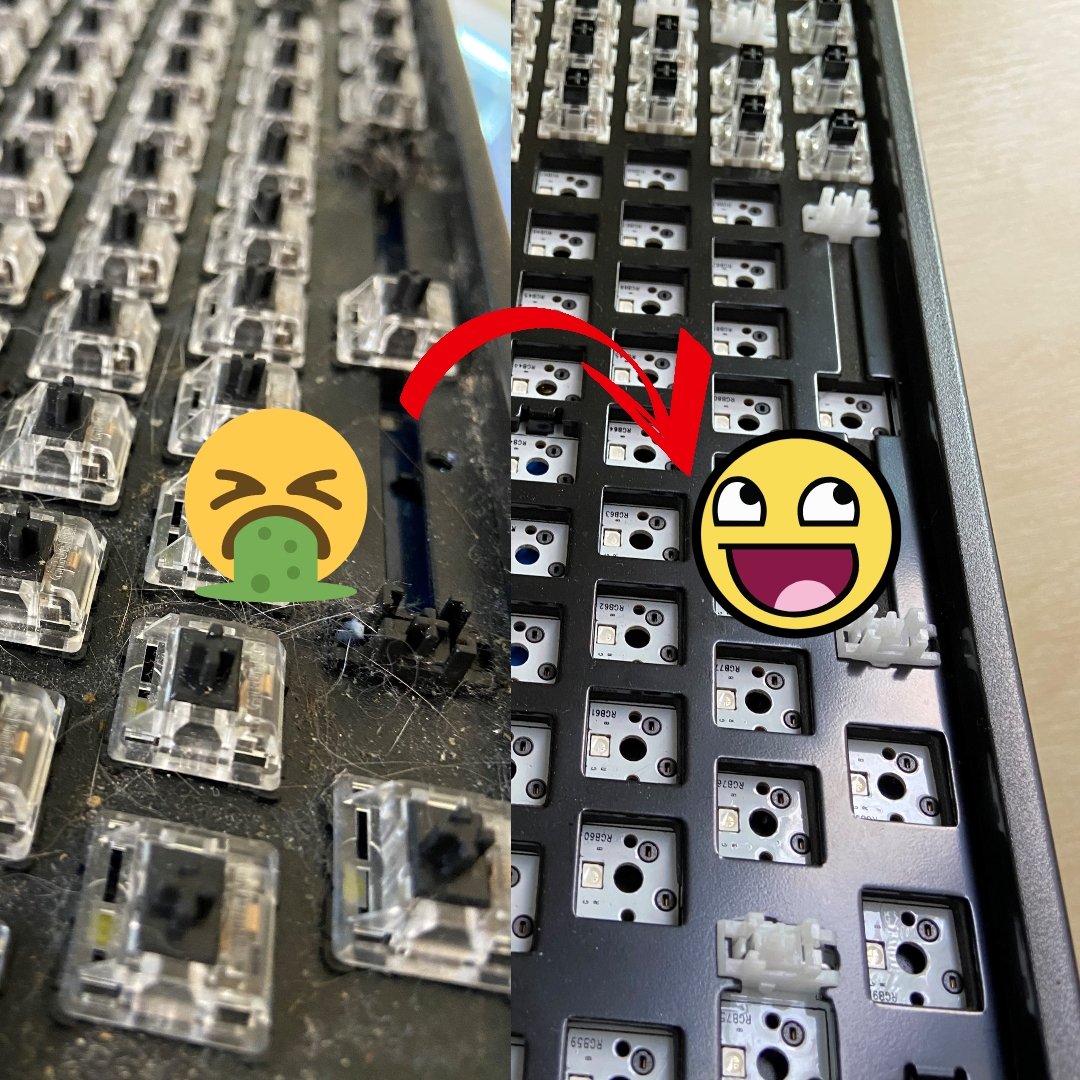
Step 4: Brushing the mechanical keyboard
Take a soft bristle brush and gently brush the keyboard to remove any debris, crumbs, or fur. Avoid using a vacuum cleaner, as it can generate static electricity. Mechanical keyboards are built to be sturdy, so don't be afraid to apply a bit of pressure while brushing.

Step 5: Wiping the mechanical keyboard with cotton bud
Ensure the keyboard is unplugged and has no power supply. Dampen a cotton bud slightly and carefully run it along the length of the keyboard. This will help remove any dirt or grime. If desired, you can use a small amount of rubbing alcohol or an alcohol-based cleaner, but water alone works just fine.

Step 6: Reassembling the mechanical keyboard
Once the keycaps are completely dry and the keyboard is clean, it's time to reassemble. Take your time to align and place each keycap back onto the keyboard. Refer to the photo you took earlier if needed to ensure correct placement.

Conclusion
Congratulations on successfully cleaning your mechanical keyboard! By following these straightforward steps and incorporating regular cleaning habits, you can keep your keyboard in excellent condition. We hope you found this guide helpful. If you have any comments or suggestions, please feel free to share them. Happy typing!